This is a follow-up post for those who took me at my word and are interested in the nuts-and-bolts of creative homeschooling. These are real activities that I did with my 8-year-old daughter Rachel in the last few weeks. They could be altered for younger or older students, or for different areas of study. I tried to include something for every subject. They would be perfect for a unit study—all activities centered around the same topic.
For what it’s worth, I got my certificate in early childhood education from Middlebury College (class of 1997) and taught kindergarten in Dekalb County Schools (Atlanta) before I started homeschooling in 2004. While teaching in a public school helped me a lot with curriculum planning and purchasing materials, it was surprisingly poor preparation for teaching my own children at home. It’s the hardest and most rewarding job I’ve ever had. Shoot me an email if you have any questions.
Science/Writing: Acid Base Indicator/Reaction and Lab Write Up
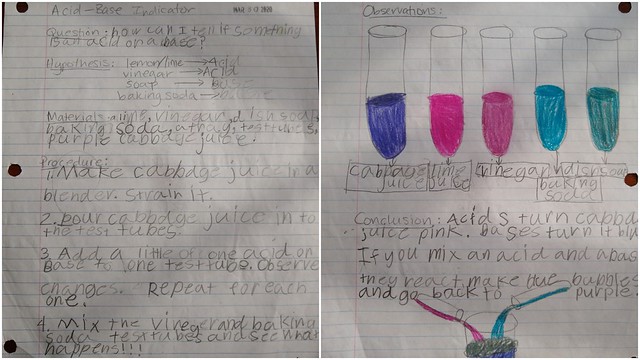
We used red cabbage juice (which I made in my blender) as an acid base indicator to test different household substances in separate test tubes/jars: lemon juice, baking soda, dish soap, and vinegar. We observed the color change as we added each substance and determined which were acids and which bases. We then mixed the solution containing vinegar (pink) and baking soda (blue) and watched the fizzy reaction turn the liquid back to a neutral (purple). It was dramatic, and fun.
Then came the not-as-fun part: writing up the lab report. I wrote six headings (based on the scientific method) on a piece of paper and I sat with Rachel as she worked through each section. In addition to scientific inquiry, this activity offers writing skills practice in the areas of grammar, punctuation, penmanship, spelling, and vocabulary. Sometimes getting her to finish the write-up is like pulling teeth, but it’s a required part of every fun experiment we do. Here are the six headings of the lab write-up:
- Question
- Hypothesis
- Materials
- Procedure
- Observations
- Conclusion
Reading: Illustrated Classics (Charlotte Mason method and coloring pages)
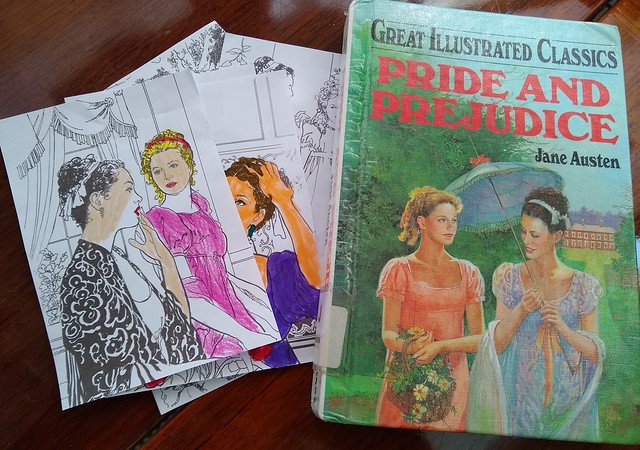
Rachel recently made the leap to reading chapter books independently. She likes these condensed versions of classic literature, and asked me if I could copy some of the illustrations for her to color. The Charlotte Mason method has your child retell the story (either aloud or written)…so why not have the conversations about the book over coloring?
Spelling: Flashcard Memory Game
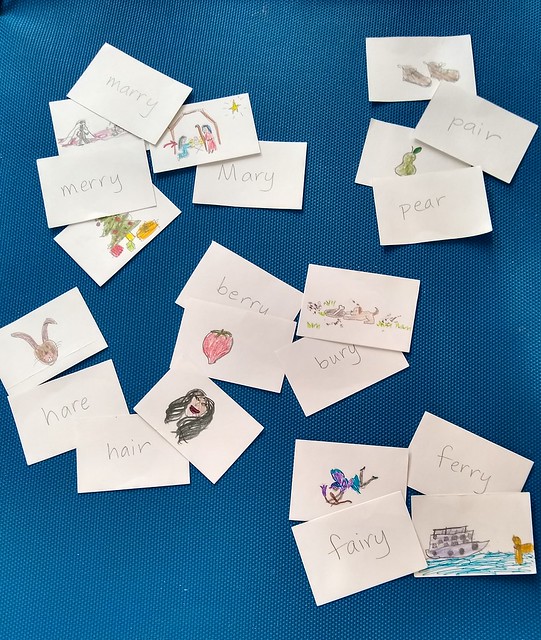
We took Rachel’s word list—22 words from Adventures in Phonics List 22 and turned them into a matching game. We wrote the words on 22 cards, illustrated them on 22 more cards, then put the words in two grids. She had to find the correct word for each picture. Other ways to use the game: put the cards in alphabetical order, match the homonyms using pictures or words only, make sentences using as many words per sentence as you can, and spell each word aloud when shown a picture.
Math: Skip Bo Math Facts
This is a fun card game (cousin to UNO), but we’re not playing by the rules! Rachel is working on her multiplication facts to 12, and this is a fast, fun way to do it. The wild cards (Skip Bo) have a value of 0, but every other card is taken at face value. We shuffle the big deck, split it into two piles, and I flip the cards two at a time. She calls out the product of the two factors. If she doesn’t know, or takes too long, I keep the cards to review later. If she gets the answer correct, she keeps the cards. Could be used for adding if your kid isn’t ready to multiply, or even for simplifying fractions if they’ve moved beyond multiplication.
History/Geography: Map Labeling
We’ve been reading about the Age of Discovery in A Child’s History of the World, so in addition to adding a card to our illustrated deck of world history, we marked the voyages of Columbus on a map, color-coded by year. If your kid loves maps, it’s a great way to learn history. This year, we also learned about the Iditarod sled race and labeled a map of Alaska, showing the race route.
Art: Beer Box Butterflies and Beer Box Monsters
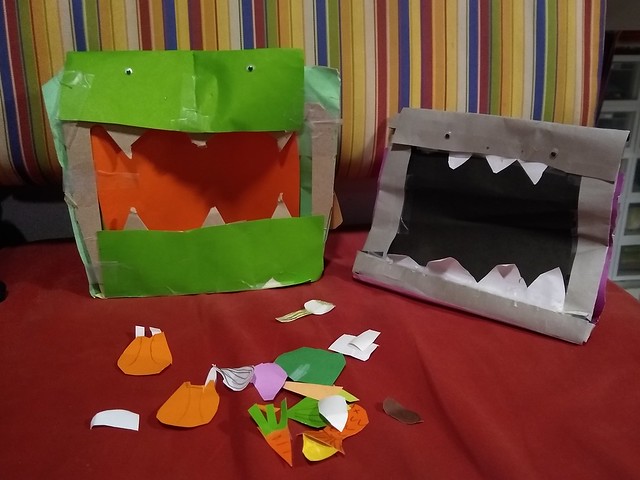
This is an activity invented by Rachel herself! She turned the inserts in Jay’s Heineken beer cases into butterflies for today’s art project, but in the past, she’s used the inserts to make monsters. They had names and she made food so we could feed them. Pretty much any cardboard in our home is fair game for repurposing. All kids need to be creative are some art supplies and a little boredom.


